leatherworking favorites
posted on by Lee Cattarin
practices
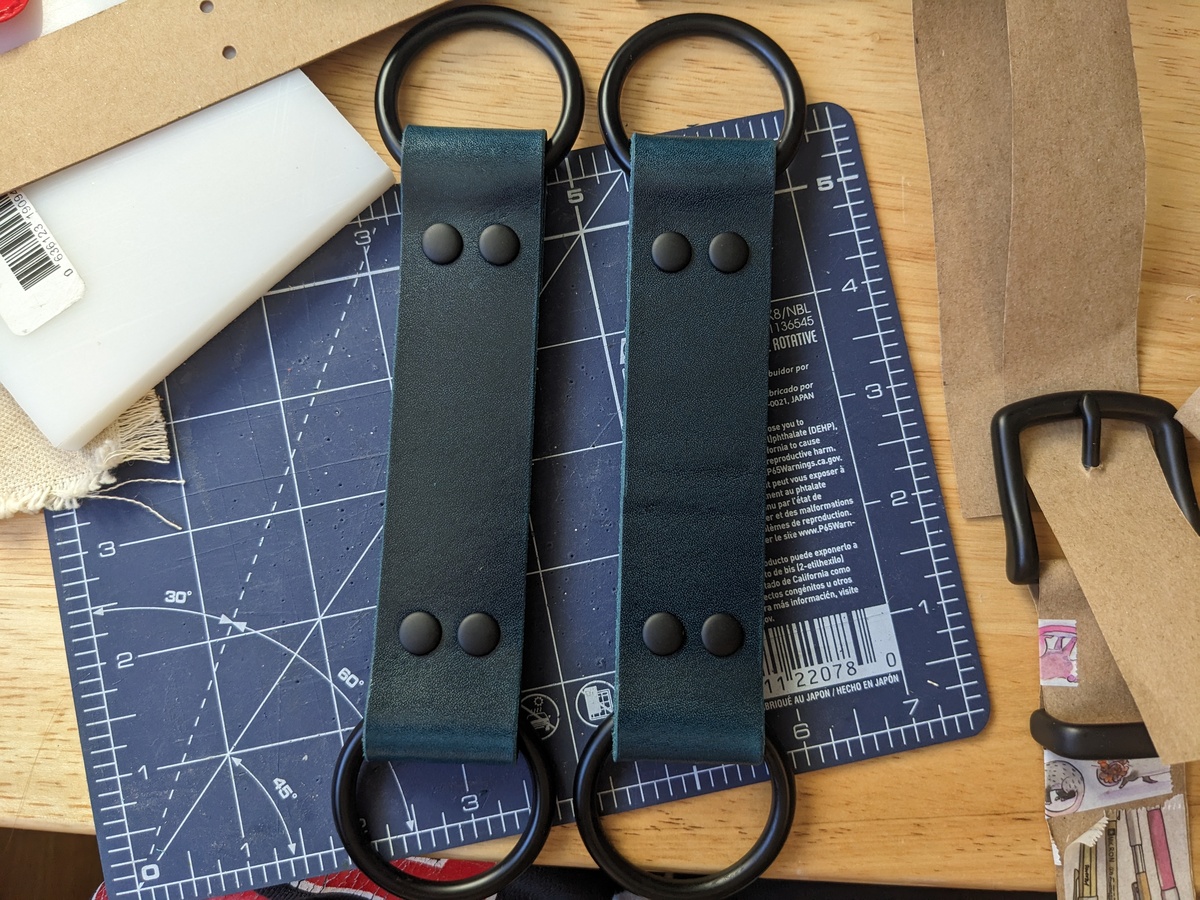
- cardboard templates have been really handy for the spacing of rivets and such. I use cereal boxes since they are not corrugated.
tools
If I have linked a tool, I really like that specific tool and find it stands out. Otherwise, idk, I’ve used precisely one edge beveler, I have no idea how it compares.
- (need to have) some kind of scratch awl for marking
- (need to have) cutproof mat
- (need to have basically whenever you are using a mallet) “poundo board” or cutting board (this is just an example, I got mine elsewhere) - importantly, this is distinct from your cutproof mat. you can use this in place of your cutproof mat but it tends to pick up a lot of punctures which can leave indents in your leather with pressure - so I only use mine for mallet-ing and otherwise use my cutproof mat
- (nice to have) pattern plastic - but like I said above you can use non-corrugated cardboard
- (nice to have) acrylic leather thickness gauge - but you can also just use a ruler or calipers, or learn to gauge by eye/feel
cutting
- (need to have) metal cork-backed ruler (cork backing will keep it from slip-sliding around)
- (nice to have, but any sharp blade will do) ergo kiwi knife
- (nice to have for harnesses, belts) strap cutter
- (nice to have for small objects with a lot of layers at the seams, like wallets) skiving knife of some kind. there’s a lot of different types out there. I have a CS Osborne leather knife and I don’t love it, but idk if that’s just because I am still learning how to skive.
- you’re supposed to skive on a fucken rock so as not to absolutely wreck your cutproof mat. I haven’t got my rock yet but I haven’t ruined my mat yet either.
- ok so I got a skiving knife from Weaver and it definitely beats out the CS Osborne leather knife
edging and burnishing
- (nice to have) edge beveler
- (need to have) sandpaper in maybe two grits. I have 100 and 600 sitting around right now
- (need to have) some small pieces of heavy canvas
- (nice to have) tokonole!!!
- tokonole can even burnish chrome tan leather and flesh side of veg tan
- (nice to have) wooden edge burnishing tool but tbh I find myself just using canvas instead of my burnishing tool
- you can also use wooden tool handles, if you have for example an edge beveler with a wooden handle sitting around
- (nice to have/need to have if you don’t get tokonole) beeswax
- (nice to have) micro spatula - I bought this for bookbinding but I find it useful for applying tokonole or doing other odd lil jobs
punching
- (need to have) a mallet or something for hitting things. yes there are $100 mauls you can buy. idk a shitty mallet is working fine for me so far
- alright i splurged on a maul and it was worth it. dammit.
- (nice to have) japanese push drill and bits
- if you don’t want to go in on a $50 push drill, start with just some simple single-hole punches or a rotary punch. rotary punches are pretty heavily recommended since they come with a range of punch sizes; I avoid them like the plague because I have small shitty hands and I think those would pair poorly with a rotary punch.
- if you’re going to be attaching buckles, you’ll need oblong holes for the buckle tongue. two options:
- punch a standard hole at each end of your eventual oblong, then using a ruler and sharp small blade cut between those holes to create your oblong
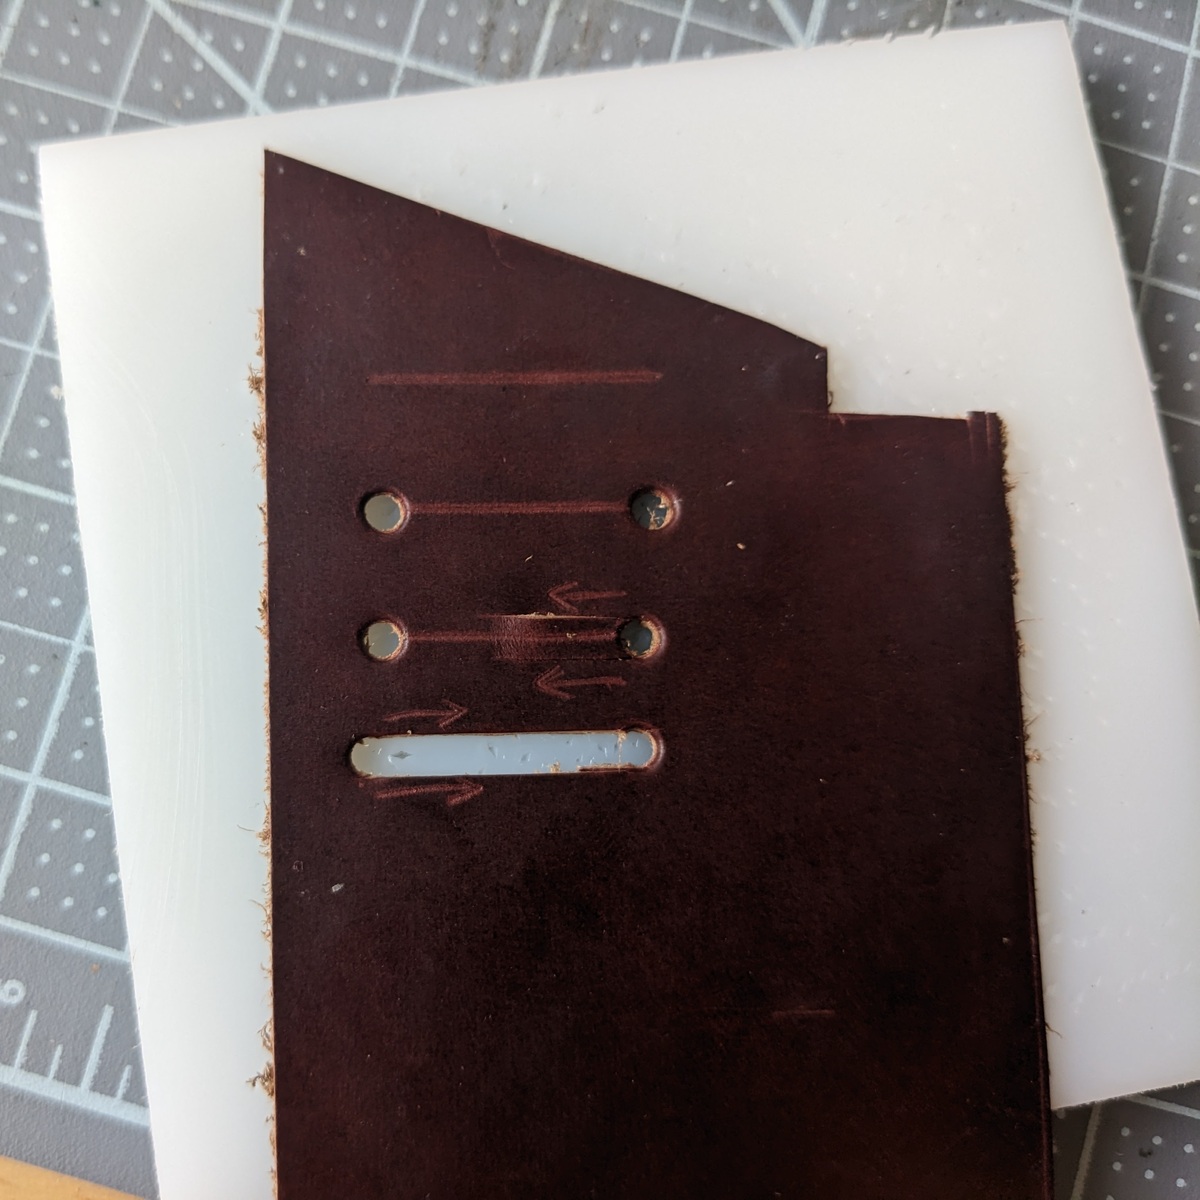
- get an oblong punch. shaped punches are expensive as shit but if you’re doing more than a few buckles this is worth it.
- punch a standard hole at each end of your eventual oblong, then using a ruler and sharp small blade cut between those holes to create your oblong
- another shaped punch: the english point strap end punch. I don’t own this yet but am heavily considering it if I am going to make more harnesses (and I am). you don’t specifically need english point - there’s other strap end styles - but having a strap end punch in the size of your choosing is useful for harnesses, belts, anything with a lot of straps.
- with strap end punches, you can use a larger punch on a smaller strap (for an imperfect result, tbf) but not vice versa
- there are also strap end acrylic templates out there on several retailers sites - I have a tandy one
riveting, snapping, etc
- for any given size/brand of rivets, you can usually buy a setter and anvil for maybe $25 together
- also I have one extra of both of those specific linked items, so if you’re short on cash lmk and I will ship em to ya - since I have switched over to the next option
- however, if you think you might get really into leatherworking, or if you think you will be getting multiple sizes of rivets, attaching snaps, attaching other types of rivet-style clasps, whatever, I would highly recommend this setter post and base and a rivet setter die or whichever setter die you need for your specific thing
- these dies also work with larger presses and make it much more possible to transition from a hand press to a full press without having to re-buy all your dies
- according to Corter Leather at the very least (I don’t really have the experience to make a full comparison) this system is much more reliable for well-balanced, well-rounded rivets, snaps, etc
stitching
- (nice to have) wing divider for drawing stitching lines
- (need to have) stitching chisels! if you want to save some money, you mostly need the 6-tooth and the 2-tooth - 6 for straightaways, 2 for curves. I occasionally use my 4-tooth and very occasionally use my 1-tooth (except for zippers. if you wanna do zippers get a 1-tooth).
- my stitching chisels are 4mm spacing. I picked this pretty arbitrarily :)
- technically you could just buy a diamond awl or a 1-tooth chisel and poke each hole individually and that would be cheaper but oh my god love yourself
- (nice to have, any needles will do but oh my god these are pretty hashtag worth) cs osborne harness needles, blunt tip
- (need to have) thread - I am using Ritza 25 Tiger Thread (currently I have the 1.0mm size. I find it a little large and will probably size down when I order other colors - update, sized down to .8 and even have some .6 - much preferable) and have also used MeiSi Superfine Linen Thread but polyester threads are easier to seal off with a lighter
- (nice to have) some kind of silicone needle puller (I don’t actually have this one, I was having trouble finding what I have - little pink finger covers that are all grippy) for gripping needles. or just use the back of a mousepad? or something?
tool care
- (need to have for certain blades such as skiving knife) jeweler’s rouge for stropping
- I am not an expert here so I am not making firm recommendations. I got mine from Springfield Leather
tooling
- (need to have) swivel knife
- (need to have) a beveler. I have a smooth beveler at the moment, but am waiting on a checked beveler in the mail as I think I will like that look better
- (need to have) as mentioned previously, mallet or maul
- (nice to have) literally any other stamps i guess
- (nice to have) templates! it really helps to start out with some designs made for swivel knife. I got a few (both free and paid) from dadhands
zippers
- okay so I bought them because they are pretty but these rainbow zippers actually make it so much easier because you can differentiate each tooth from the next!!!
- (nice to have) tape such as ted’s tape
resources
retailers
- buckleguy has been super speedy and reliable so far - for sure my favorite
- springfield leather
- tandy
- weaver leather supply
- longview leather (canada)