printing press notes
posted on by Lee Cattarin
specs
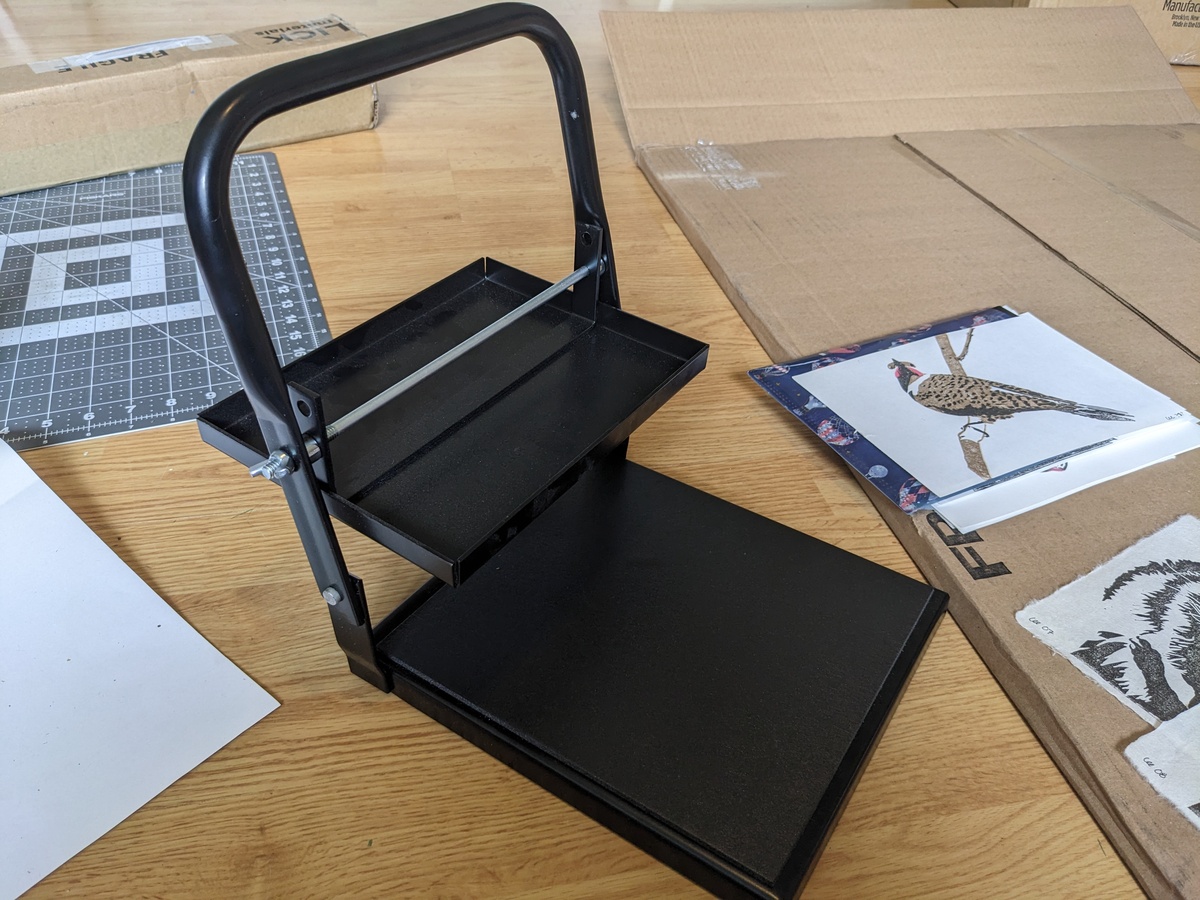
Speedball Model B printing press. Goes for ~$100 - I got it through Blick
usage
- cut or tear paper to fit the press - the usable pressing surface is slightly smaller than 6” x 8”, with a bit of margin space that won’t be effectively pressed
- lay paper right side up (if relevant)
- ink printing block
- lay block ink-down on paper
- ensure paper & block are positioned under the top plate of the press
- close press and put pressure on. I have been putting my upper body weight on it
- open press and remove block
tips for multi-layer prints
I’ve accomplished multi-layer prints in two ways thus far:
- cut or tear paper so as to be only slightly larger than the stamp. use paper borders to align stamps
- use washi tape to attach paper to a carpenter’s square such that the stamps will be centered when lined up with the carpenter’s square. This requires that the stamp AND carpenter’s square fit under the press
other notes
- as mentioned, the working area is slightly smaller than the stated 6” x 8” area
- corners of the press are cut metal and can be slightly sharp. I put some washi tape on the corners to help avoid scratching myself
- placing the block ink down on the paper, as opposed to placing the paper on top of an inked block, does appear to be more effective
- compared to using a brayer, this dramatically improves consistency and ink evenness for each print! I highly recommend it if only to cut down on misprints or mistakes